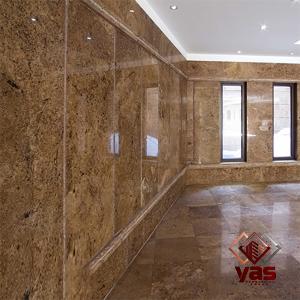
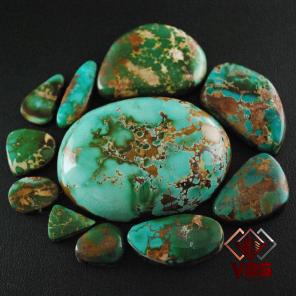
Stone facades are a popular choice for homeowners looking to enhance the exterior of their homes. These facades provide a timeless and elegant look that can instantly elevate the curb appeal of any property. What’s more, a DIY stone facade project can be a rewarding and cost-effective way to give your home a facelift without breaking the bank. In this article, we will explore the benefits of DIY stone facades, the materials and tools you will need, and step-by-step instructions to help you create a stunning stone facade for your home. Benefits of DIY Stone Facades There are many benefits to choosing a DIY stone facade for your home. One of the main advantages is the cost savings associated with doing the project yourself. Hiring a professional to install a stone facade can be expensive, but by taking on the project yourself, you can save a significant amount of money. Additionally, installing a stone facade is a great way to increase the value of your home. Stone facades are a sought-after feature for homebuyers, so adding one to your property can potentially increase its resale value.
.
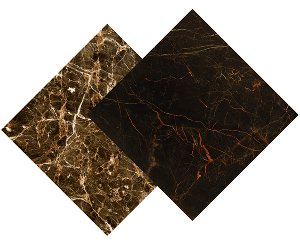
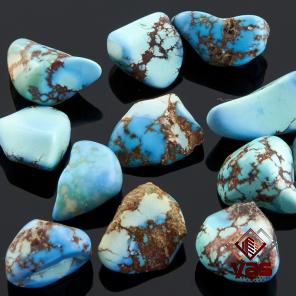
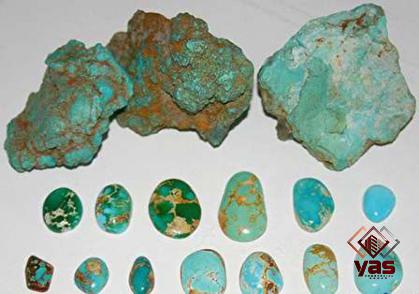
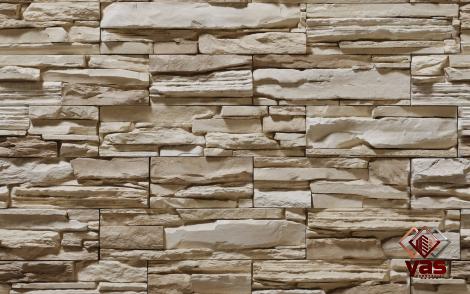
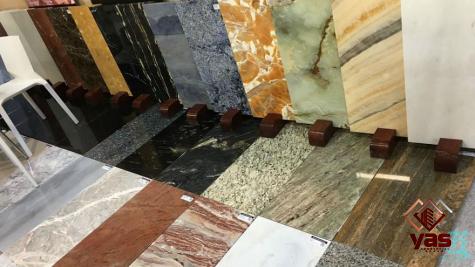 Not only will a stone facade enhance the aesthetics of your home, but it can also improve its overall marketability. Furthermore, DIY stone facades are a versatile option that can be customized to suit your personal style and the architectural design of your home. Whether you prefer a rustic, natural look or a more modern and contemporary aesthetic, there are a wide variety of stone types and colors to choose from to achieve the desired look for your facade. Materials and Tools Needed Before you begin your DIY stone facade project, it is important to gather all the necessary materials and tools. Here is a list of what you will need: – Stone Veneer: Stone veneer is a lightweight and cost-effective alternative to natural stone that is easy to install. It comes in a variety of styles and colors to suit your preferences. – Mortar: Mortar is used to adhere the stone veneer to the surface of your home. There are different types of mortar available, so be sure to choose one that is suitable for your specific project. – Metal Lath: Metal lath is a mesh-like material that provides a surface for the mortar to adhere to. It is typically installed over the existing exterior of your home before applying the stone veneer. – Trowel: A trowel is a small handheld tool used for spreading and smoothing mortar onto the surface. – Saw: A saw will be needed to cut the stone veneer to fit around windows, doors, and other obstacles on your home’s exterior. – Level: A level is essential for ensuring that the stone veneer is installed straight and evenly. – Gloves and Safety Glasses: It is important to wear protective gear, such as gloves and safety glasses, when working with mortar and cutting materials. Step-by-Step Instructions Now that you have gathered all the necessary materials and tools, it is time to get started on your DIY stone facade project. Follow these step-by-step instructions to create a beautiful and long-lasting stone facade for your home: 1. Prepare the Surface: Clean the exterior surface of your home to remove any dirt, debris, or loose paint. Apply a layer of primer to the surface to ensure proper adhesion of the stone veneer. 2. Install Metal Lath: Secure the metal lath to the surface of your home using nails or screws.
..
 Be sure to overlap the edges of the lath to create a continuous surface for the mortar. 3. Mix the Mortar: Follow the manufacturer’s instructions to mix the mortar to the proper consistency. Use a trowel to apply a thin layer of mortar to the surface of the metal lath. 4. Apply the Stone Veneer: Press the stone veneer into the wet mortar, starting from the bottom and working your way up. Use a level to ensure that the stones are installed straight and even. 5. Cut and Fit the Stones: Use a saw to cut the stone veneer to fit around windows, doors, and other obstacles on your home’s exterior. Press the cut stones into place and secure them with additional mortar. 6. Finish the Joints: Once the stone veneer is installed, use a pointing tool or trowel to fill in the gaps between the stones with mortar. Be sure to smooth out the joints for a clean and polished finish. 7. Allow the Mortar to Cure: Let the mortar cure for the recommended amount of time before applying any finishing touches or sealants to the stone facade. In conclusion, a DIY stone facade is a fantastic way to enhance the beauty and value of your home. By following these step-by-step instructions and using the right materials and tools, you can create a stunning and durable stone facade that will make your home stand out in the neighborhood. So why wait? Start your DIY stone facade project today and transform the exterior of your home with the timeless elegance of stone. 8. Add Finishing Touches: Once the mortar has fully cured, step back and take a look at your newly transformed home. You can enhance the look of your stone facade further by adding some finishing touches. Consider adding decorative elements such as sconces, address numbers, or planters to complement the stone facade and add a personal touch to your home’s exterior.
…
 9. Seal the Stone Veneer: To protect your stone facade from the elements and prolong its lifespan, it is important to seal the stone veneer. Choose a high-quality stone sealant that is designed for exterior use and follow the manufacturer’s instructions for application. Applying a sealant will help to prevent water damage, staining, and fading, ensuring that your stone facade remains beautiful and intact for years to come. 10. Maintenance Tips: To keep your DIY stone facade looking its best, regular maintenance is key. Inspect the facade periodically for any signs of damage, cracking, or discoloration, and address any issues promptly. Clean the stone veneer regularly with a mild detergent and water to remove dirt and grime. Avoid using harsh chemicals or pressure washers, as these can damage the stone surface. Additionally, consider reapplying sealant every few years to maintain the integrity of the stone and protect it from wear and tear. 11. Enjoy Your New Stone Facade: Once your DIY stone facade project is complete and the finishing touches are added, take a moment to admire the transformation of your home. The timeless beauty and elegance of a stone facade will not only enhance the curb appeal of your property but also create a welcoming and inviting atmosphere for you and your family. Enjoy the compliments from neighbors, the satisfaction of a job well done, and the value that a stone facade adds to your home. In conclusion, a DIY stone facade is a rewarding and cost-effective way to enhance the exterior of your home. With the right materials, tools, and step-by-step instructions, you can create a stunning and durable stone facade that will elevate the curb appeal and value of your property. Whether you prefer a rustic, natural look or a modern and contemporary design, a stone facade is a versatile option that can be customized to suit your personal style. So why not embark on a DIY stone facade project today and transform your home with the timeless beauty of stone?
Your comment submitted.